Why You’ll Love this Foolproof Self-Rising Flour
Simplicity is the ultimate kitchen hack, and this homemade self-rising flour recipe proves it.
I’m all about saving those emergency trips to the store when I’m halfway through a biscuit recipe. With just three basic pantry staples—flour, baking powder, and salt—I can whip up self-rising flour in seconds.
What I love most? The control. Store-bought versions often contain aluminum compounds and stabilizers. My homemade version? Pure ingredients, perfect rise, every time.
Plus, making it myself means never paying premium prices for what’s basically regular flour with two additions.
Need it for scones, pancakes, or quick breads? Just three ingredients away.
What Ingredients are in Foolproof Self-Rising Flour?
Self-rising flour might sound fancy, but it’s actually one of the simplest kitchen shortcuts you can make at home. The beauty lies in its simplicity – just three basic ingredients that transform regular all-purpose flour into a leavening powerhouse.
When you know what goes into it, you’ll wonder why you ever bought the pre-made version in those expensive packages at the grocery store.
- 1 cup all-purpose flour
- 1 1/4 teaspoons baking powder
- 1 pinch salt
Quality matters when it comes to these ingredients, especially your flour. I prefer using unbleached all-purpose flour for a more natural product, but bleached works perfectly fine too.
The baking powder should be fresh – check that expiration date! Old baking powder loses its potency over time, which can lead to sad, flat baked goods.
And while the recipe calls for a “pinch” of salt, this equals roughly 1/8 teaspoon if you want to be precise. The salt isn’t just for flavor; it actually helps control the rate at which the baking powder reacts, creating a more even rise in your finished baked goods.
How to Make this Foolproof Self-Rising Flour
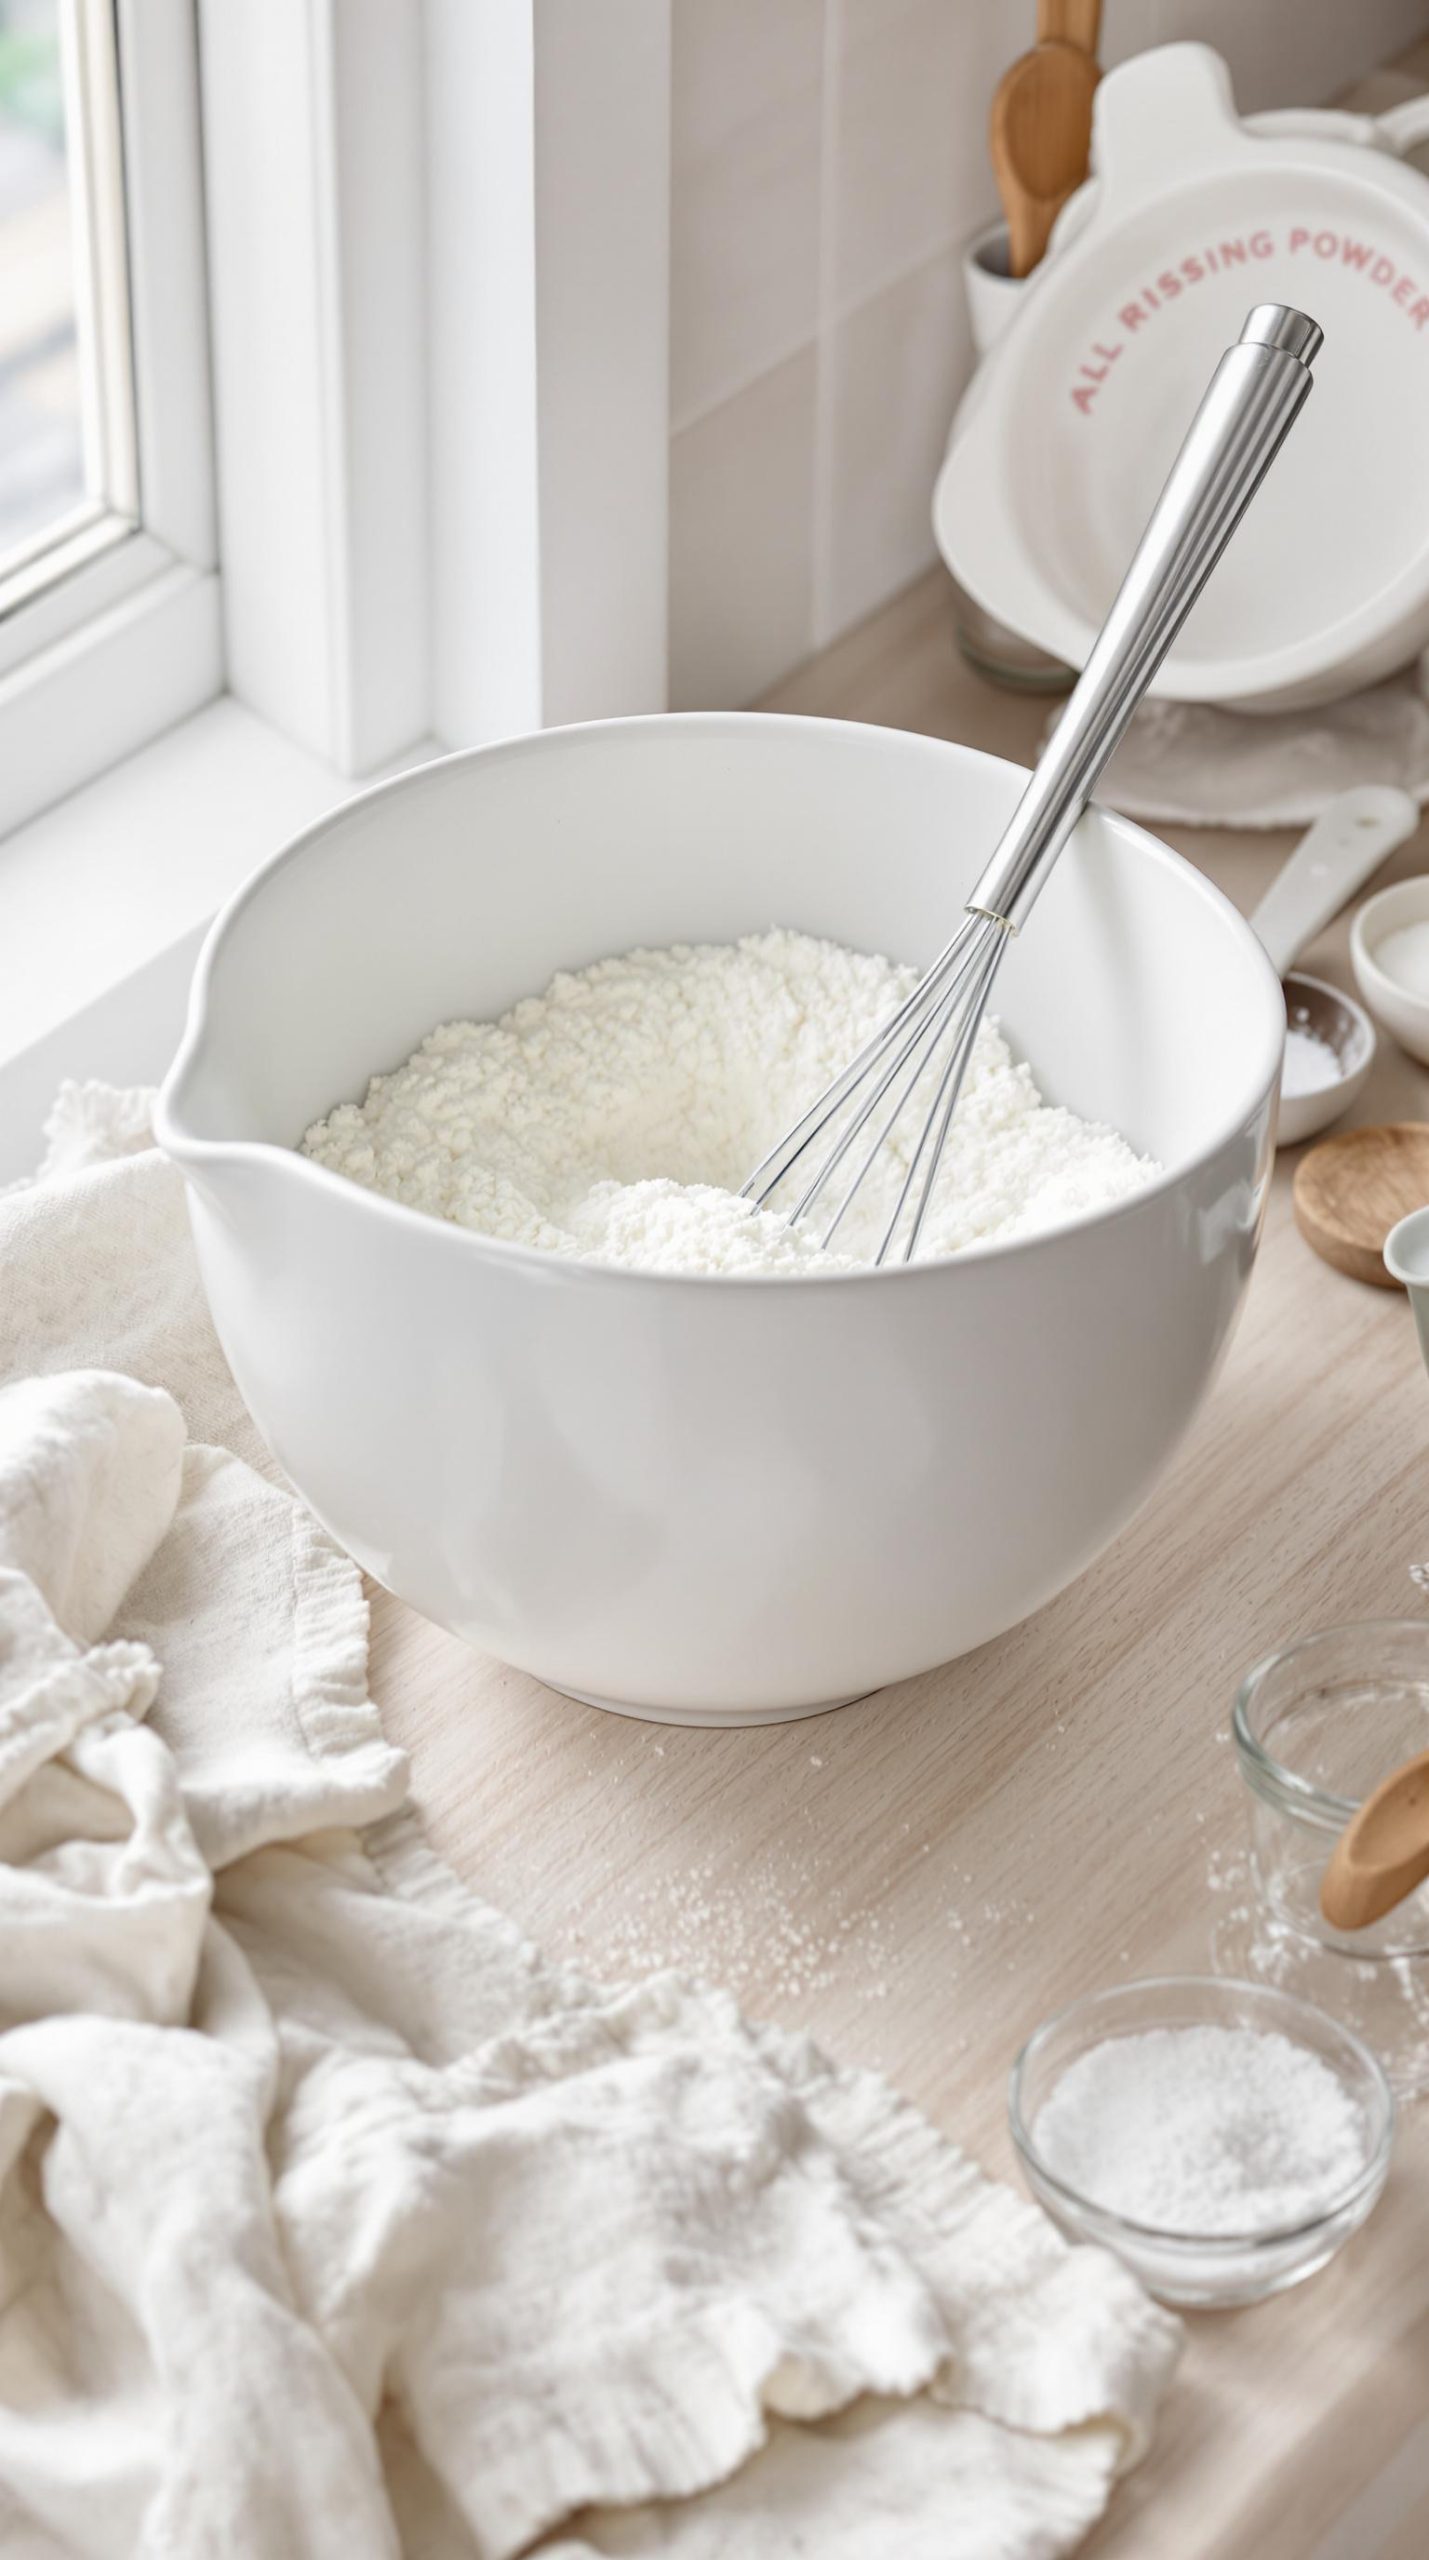
Making self-rising flour at home couldn’t be easier – it’s practically foolproof. Simply measure out 1 cup of all-purpose flour and place it in a mixing bowl.
Add 1/4 teaspoon of baking powder (though I notice some recipes call for 1 1/4 teaspoons – the lower amount works for lighter baking, while the higher amount gives more lift for heartier recipes). Finish with a pinch of salt, which is just enough to enhance the flavor without making your baked goods taste salty.
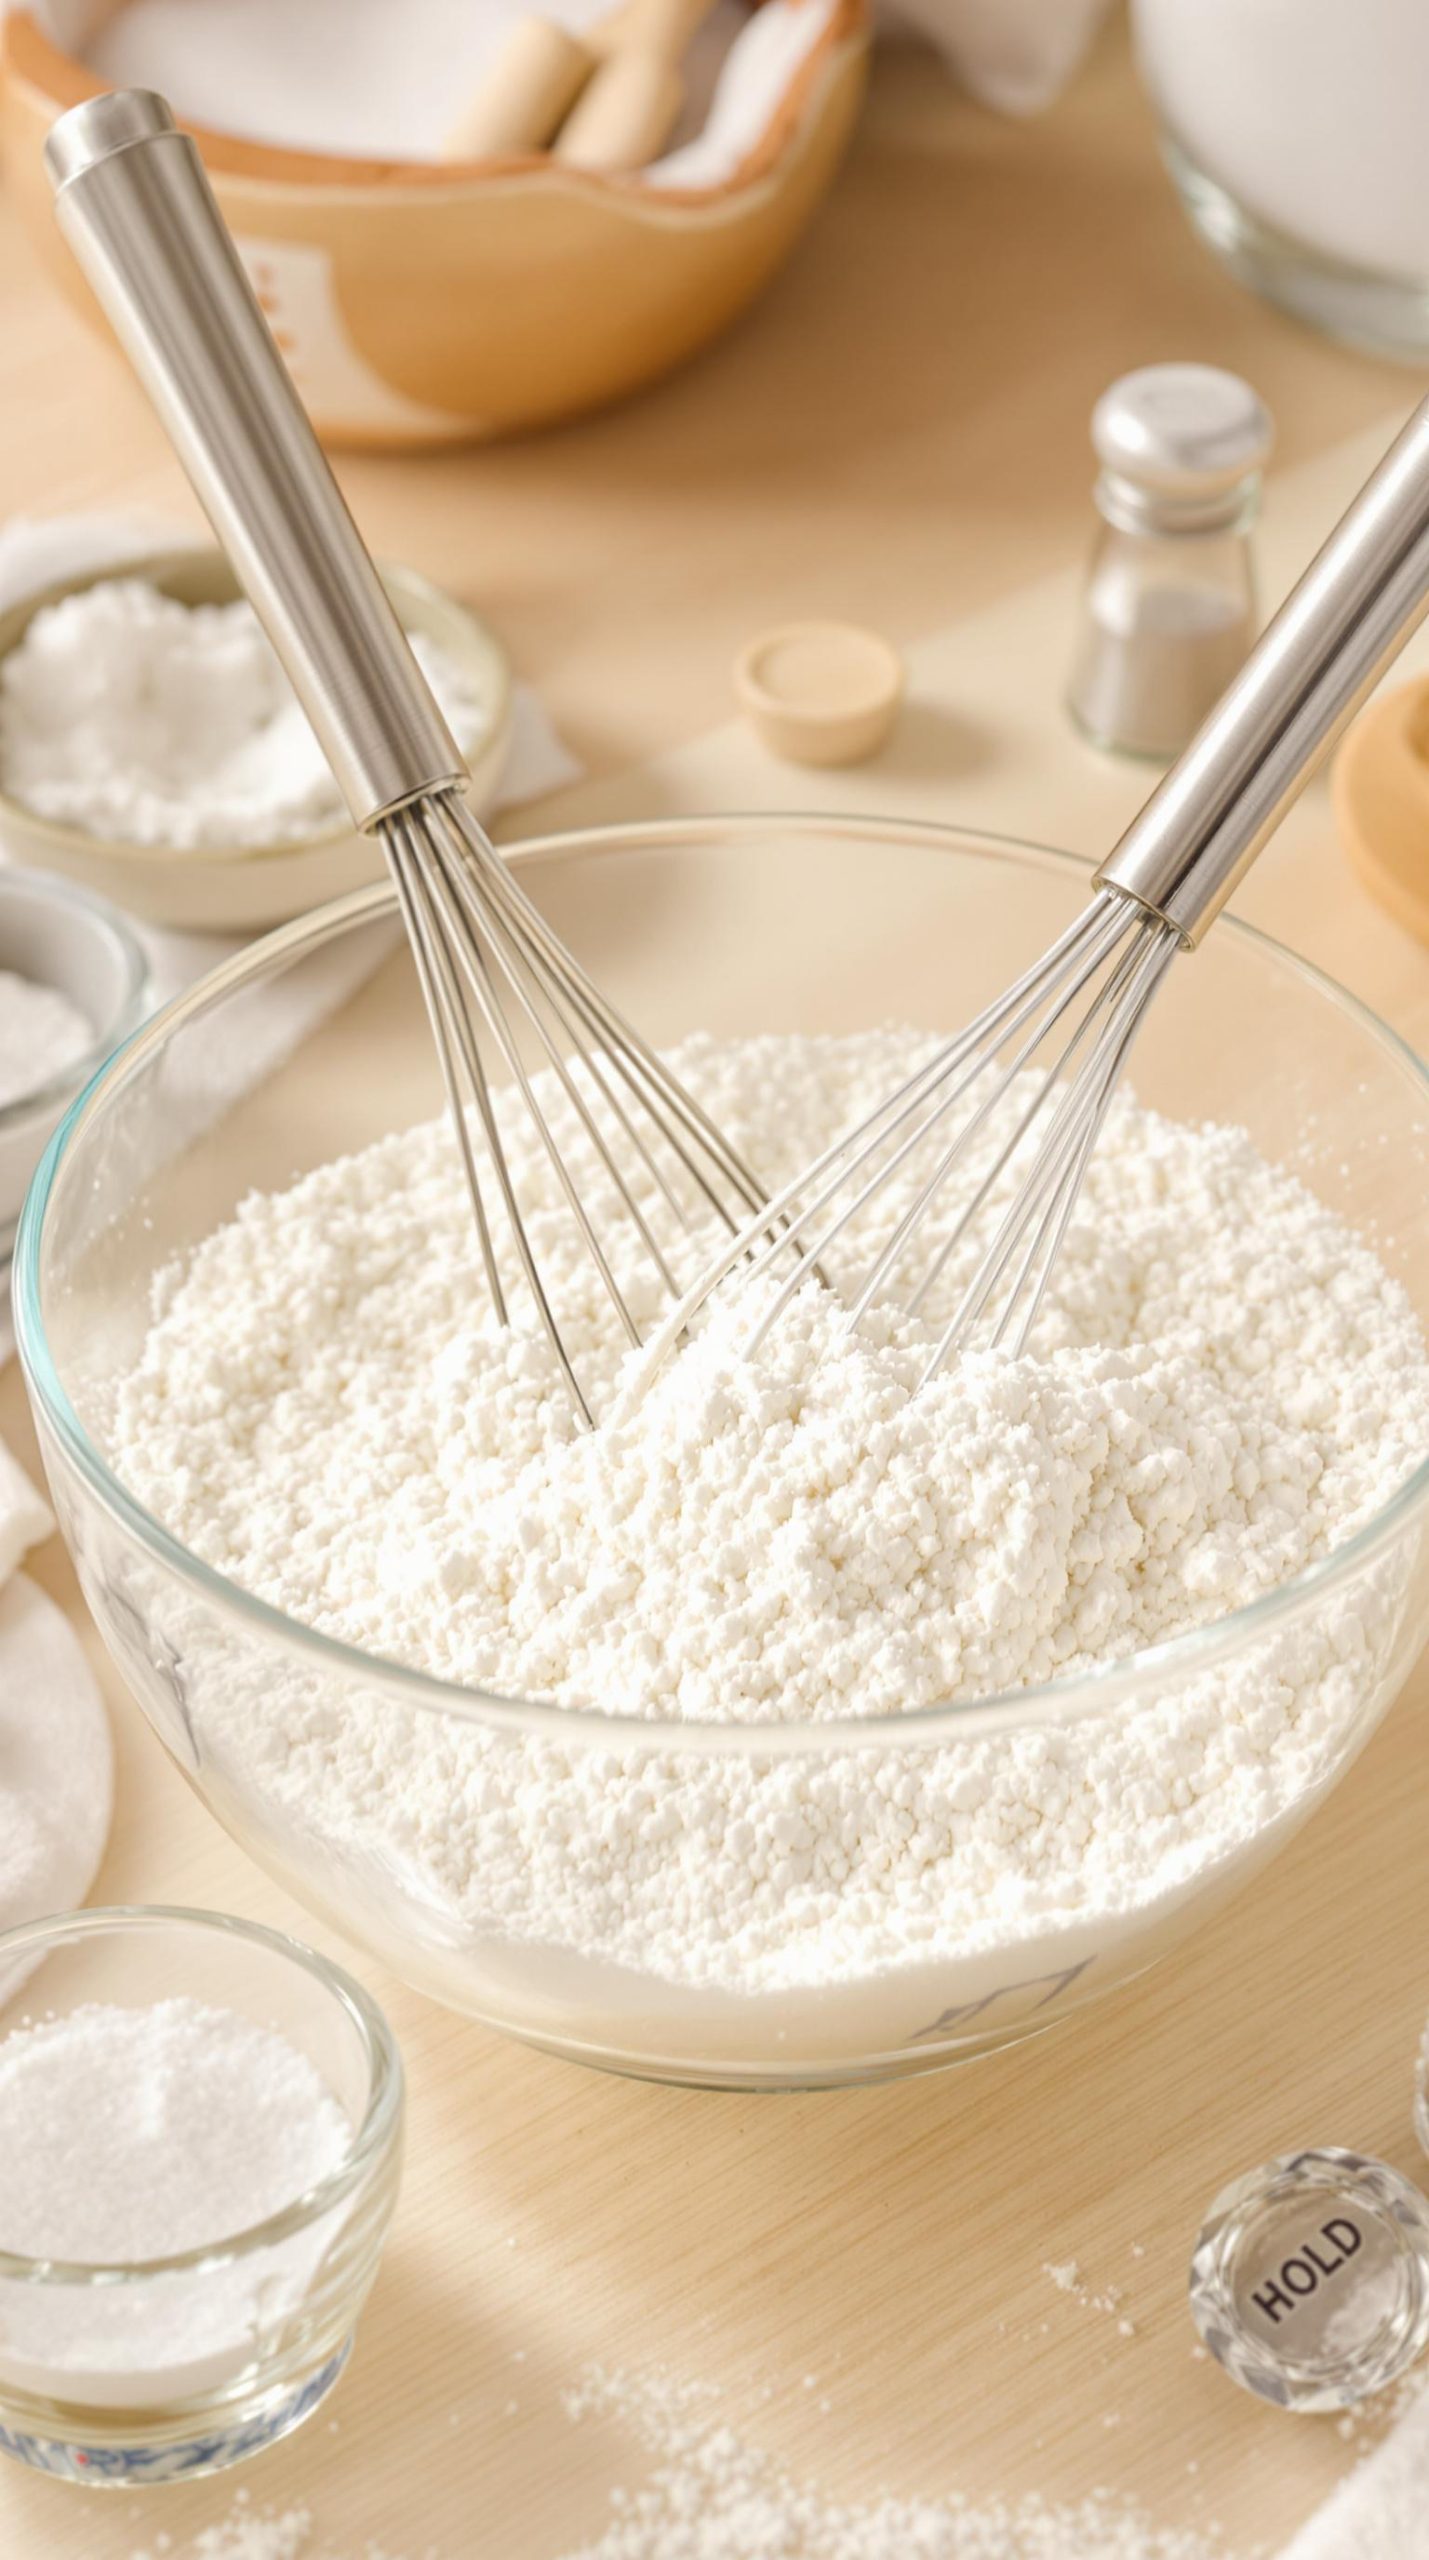
The mixing process is where the magic happens, and proper technique makes all the difference. Using a whisk rather than a spoon guarantees the ingredients distribute evenly throughout the flour. Who wants a bite of biscuit with no leavening, right?
Whisk the mixture thoroughly for about 30 seconds, making sure to break up any little clumps of baking powder. You can also sift the ingredients together if you’re feeling particularly thorough, but honestly, a good whisking does the trick for most home bakers. For high-heat cooking enthusiasts, carbon steel woks work exceptionally well with flour-based batters due to their excellent heat distribution properties.
Once combined, your self-rising flour is ready to use immediately or can be stored in an airtight container for future baking adventures. For tougher mixing jobs, a premium meat grinder can be repurposed to process larger batches of specialty flours. Just be sure to label it clearly – nothing worse than mistaking it for regular flour when you least expect it!
Foolproof Self-Rising Flour Substitutions and Variations
While the basic self-rising flour recipe is wonderfully useful, there are times when you’ll need to make substitutions or want to create variations to suit your specific baking needs.
For gluten-free baking, I recommend swapping regular flour with a reliable gluten-free blend, but you might need to increase the baking powder slightly—try an extra 1/8 teaspoon per cup.
Whole wheat self-rising flour? Simply substitute whole wheat flour for all-purpose, keeping the leavening agents the same.
Need cake flour? Use 1 cup minus 2 tablespoons of all-purpose flour plus 2 tablespoons cornstarch before adding your baking powder and salt.
What to Serve with Foolproof Self-Rising Flour
Now that you’ve got the perfect self-rising flour ready to go, let’s talk about the mouthwatering dishes you can create with this versatile pantry staple.
I recommend starting with fluffy Southern-style biscuits that practically float off the plate.
Pancakes and waffles turn out incredibly light and airy—no more dense breakfast disappointments.
Quick breads like banana or zucchini become foolproof projects, rising beautifully every time.
Feeling creative? Whip up some drop dumplings to float atop hearty stew, or craft a cobbler with tender, golden crust.
The secret to all these dishes? Your homemade self-rising flour working its magic.
Final Thoughts
After exploring the ins and outs of homemade self-rising flour, I’ve come to appreciate how something so simple can transform your baking routine.
Just three basic pantry staples—flour, baking powder, and salt—combine to create a versatile ingredient that’s ready whenever inspiration strikes.
Why spend extra money on store-bought when you can whip this up in minutes?
Store it in an airtight container, label it clearly, and you’re set for all your biscuits, pancakes, and quick breads.
Much like the comfort food favorite grilled cheese sandwich, this simple recipe relies on just a handful of ingredients to create something truly satisfying.
It reminds me of how basic components can create exceptional results, similar to how ground beef transforms into a delicious meatloaf with just a few added ingredients.