Why You’ll Love this Homemade Sourdough Starter
Though making your own sourdough starter might seem intimidating at first, I promise it’s one of the most rewarding kitchen projects you’ll ever undertake.
There’s something magical about creating life from just flour and water.
You’ll adore the rich, complex flavors that simply can’t be replicated with commercial yeast. It’s economical, too—no more buying yeast packets.
The process connects you to ancient baking traditions that stretch back thousands of years. And can we talk about that signature tang? Divine.
Ready to become part of the sourdough community? Let’s get started.
What Ingredients are in Homemade Sourdough Starter?
Making your own sourdough starter is surprisingly simple. While many bakers feel intimidated by the process, it really comes down to just a handful of basic ingredients that work together to create that magical fermentation.
The beauty of sourdough is in its simplicity, and once you understand what each ingredient contributes, you’ll be on your way to creating incredible homemade bread with that distinctive sourdough flavor.
- 2 cups flour
- 1 (1/4 ounce) package active dry yeast or 1 (1/4 ounce) package cake yeast
- 1 1/2 cups tepid water
The quality of your ingredients matters when creating your starter. For flour, you might consider using unbleached all-purpose or bread flour for best results, though whole wheat can add interesting flavors too.
The water should be tepid (around 80-85°F) – not too hot or you’ll kill the yeast, but warm enough to wake it up. Some bakers prefer filtered water to avoid chlorine, which can inhibit fermentation.
And remember, once you’ve created your starter, you won’t need yeast for future batches – your starter will become self-sustaining as the wild yeasts multiply. Isn’t that kind of amazing?
How to Make this Homemade Sourdough Starter
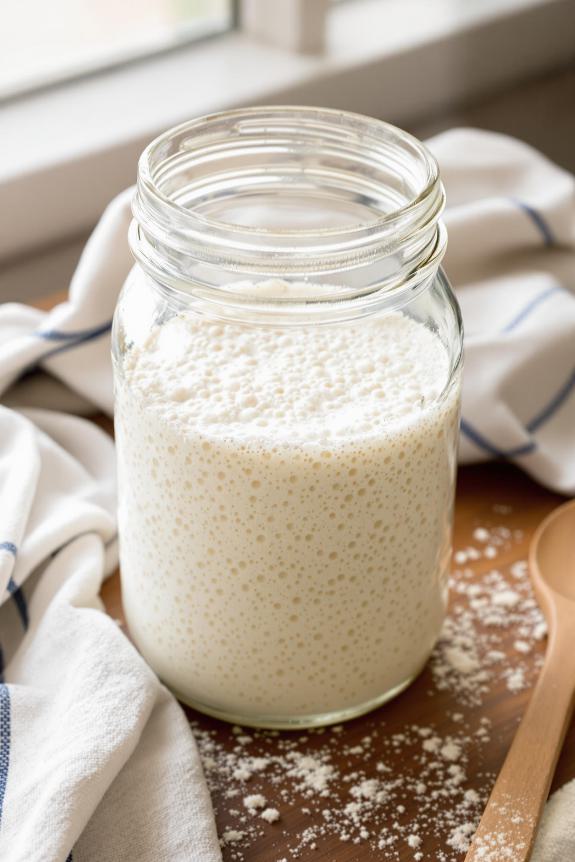
Creating your own sourdough starter is almost like witnessing a tiny miracle in your kitchen.
Begin by mixing 1 (1/4 ounce) package of active dry yeast with 1 1/2 cups of tepid water in a large bowl or jar. If you’re using active dry yeast rather than cake yeast, let this mixture stand for about 10 minutes to activate properly. The water temperature is essential here – around 80-85°F is perfect, warm enough to wake up the yeast but not so hot that you accidentally kill those precious microorganisms.
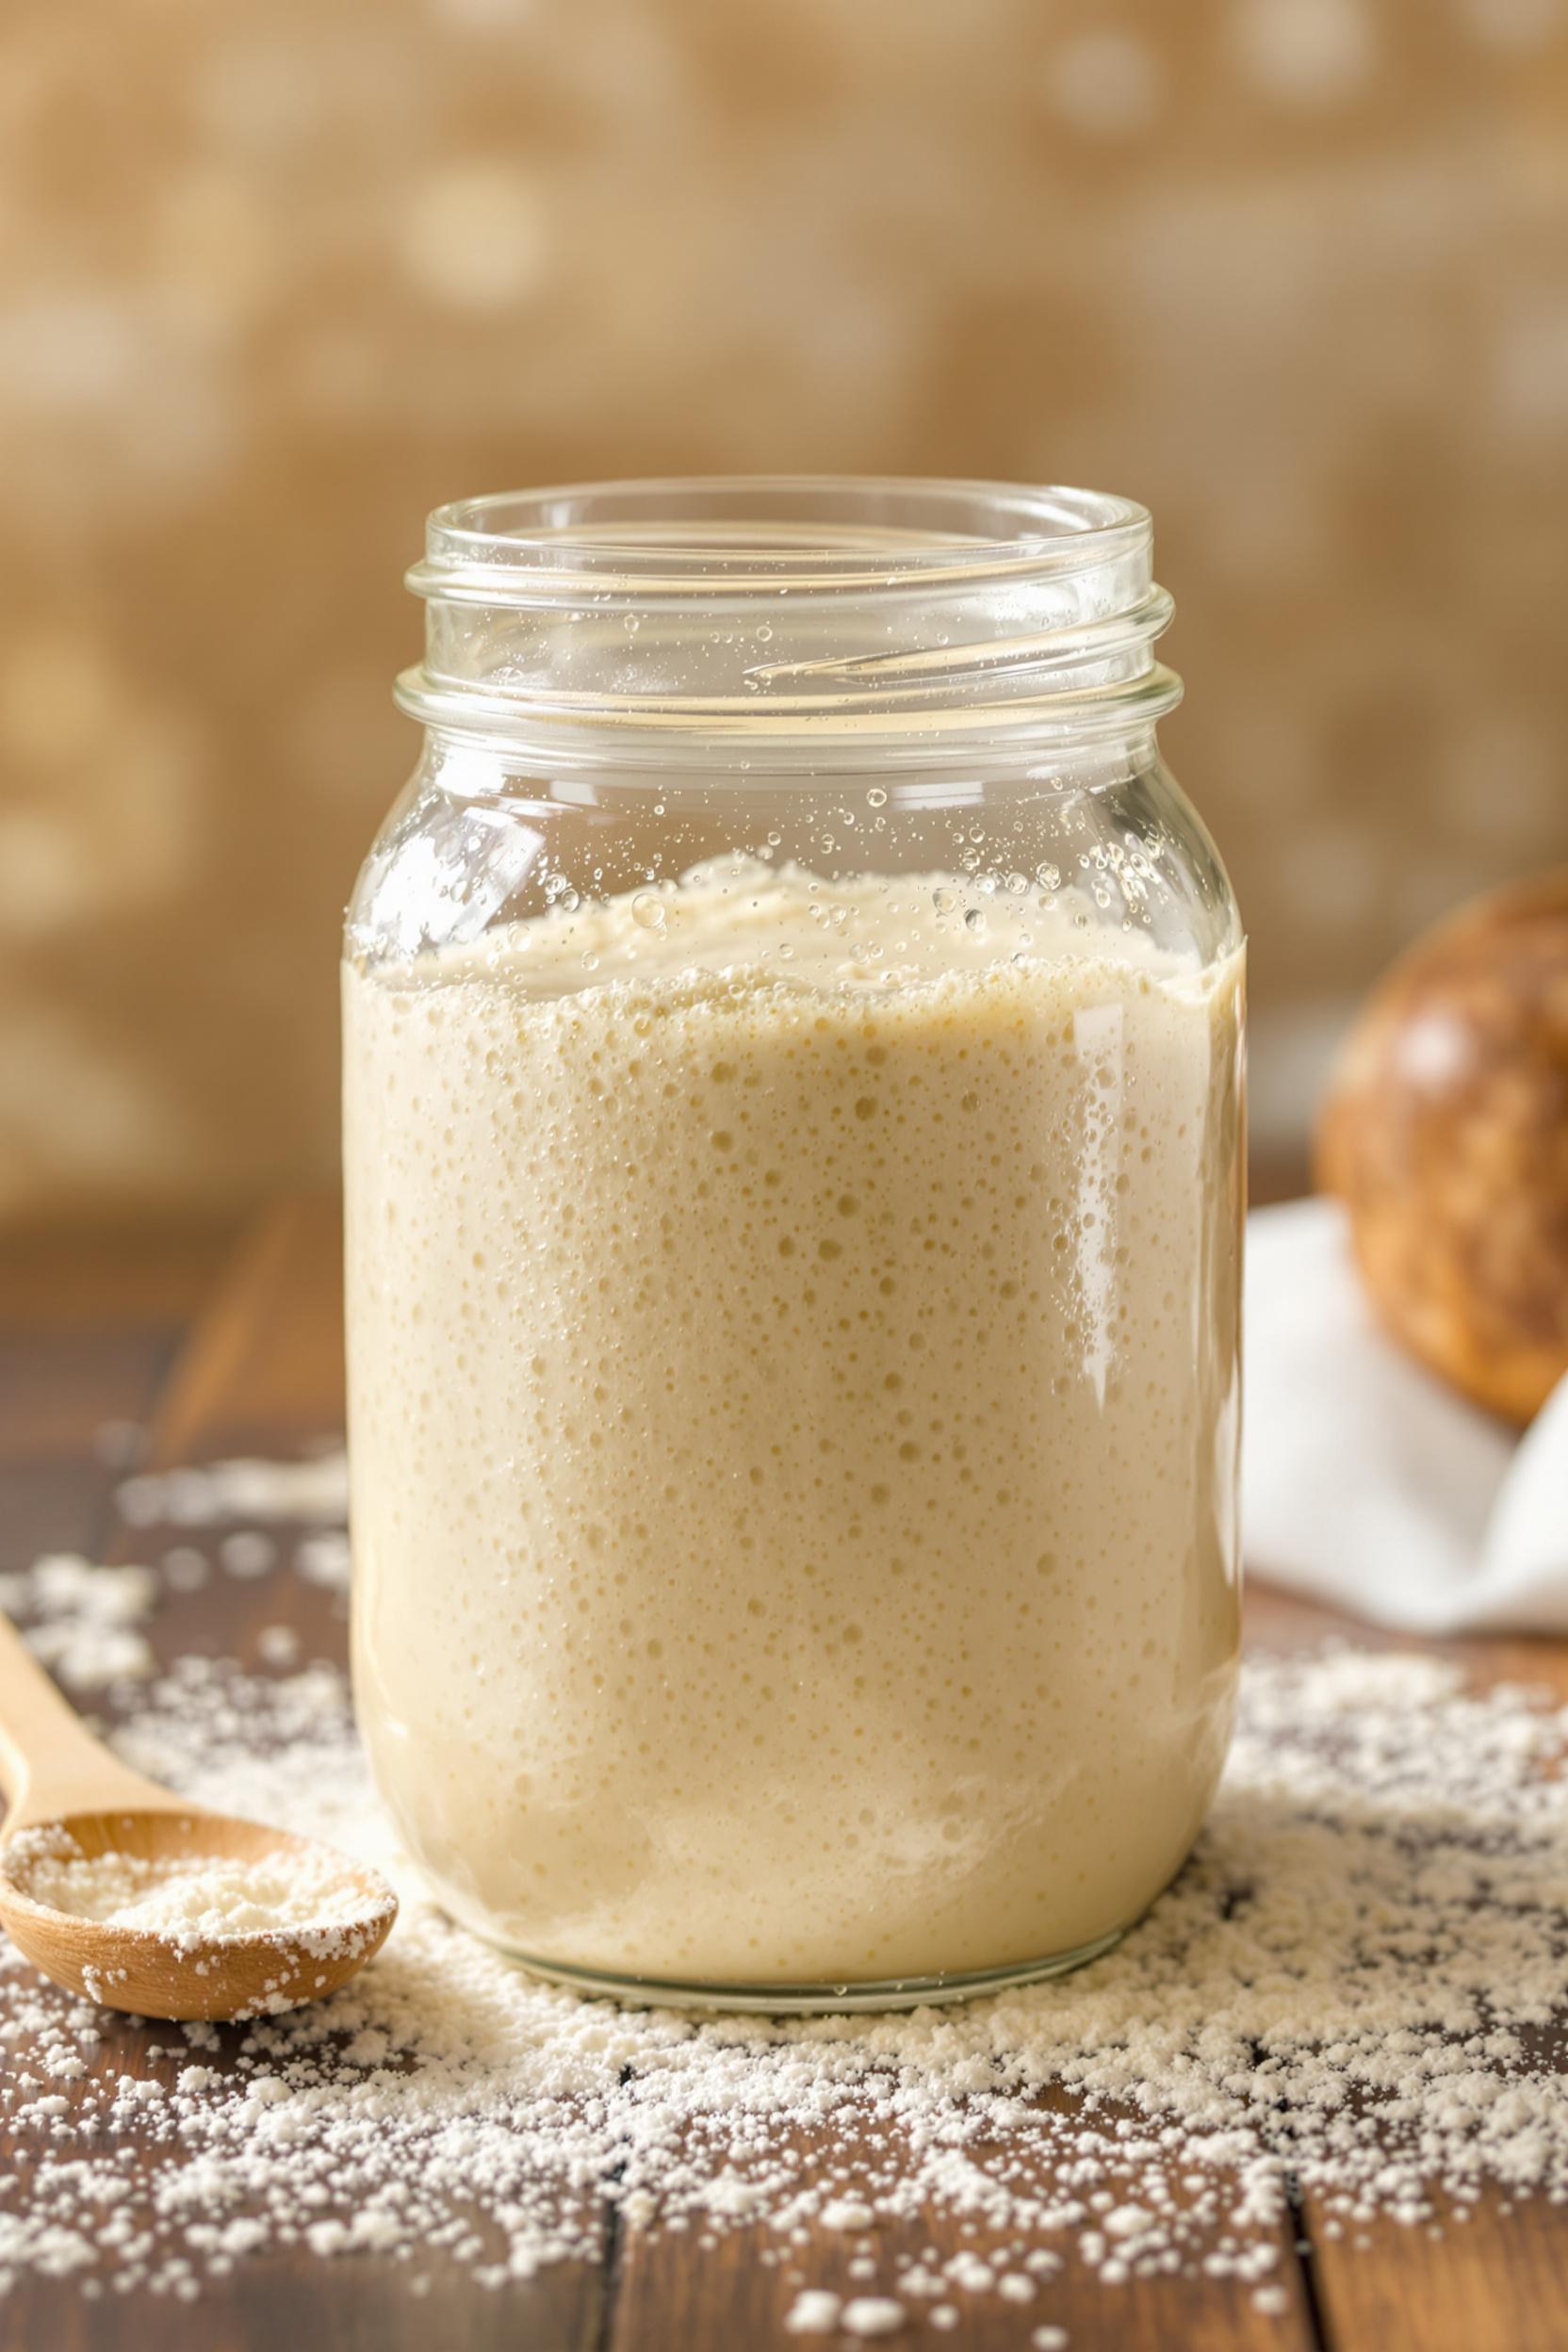
Next, gradually add 2 cups of flour to your water-yeast mixture. Using a whisk, incorporate the flour to form a thick batter. Don’t worry if your batter isn’t perfectly smooth; those little lumps won’t affect the fermentation process. In fact, they’re kind of charming in their rustic way. For consistent results with less monitoring, a premium pressure cooker can help maintain ideal temperatures during fermentation.
Once mixed, cover your container with plastic wrap to keep dust out while allowing gases to escape. Now comes the waiting game – place your covered container in a warm spot (maintaining that cozy 80-85°F temperature) and let it sit for about 24 hours.
During this time, magic happens as the mixture begins to ferment, developing those complex flavors and that signature sourdough tang. You’ll know it’s ready when the mixture looks frothy and has a pleasantly sour aroma. Who knew that patience could be so deliciously rewarded? While waiting for your starter to develop, consider browsing smoker grill BBQs to plan your next outdoor cooking adventure.
Homemade Sourdough Starter Substitutions and Variations
Sourdough starters can be surprisingly flexible, adapting to whatever ingredients you have on hand.
I recommend trying different flours—rye, whole wheat, or even spelt—to develop unique flavor profiles. Each creates distinct characteristics in your starter.
Can’t find commercial yeast? No problem. Wild yeasts live everywhere, so you can simply mix equal parts flour and water, then let nature do its work.
It might take longer—about 5-7 days—but the resulting starter often has more complex flavors.
For a tangier starter, I suggest increasing fermentation time.
Or add a tablespoon of honey initially to give those microorganisms something extra to feast on.
What to Serve with Homemade Sourdough Starter
While your sourdough starter isn’t meant to be eaten on its own, it’s the foundation for countless delicious dishes that you can serve to friends and family.
I love to use my starter for classic sourdough bread with a crisp crust and tangy interior—perfect with a bowl of soup or slathered with butter.
Don’t stop at bread, though. Sourdough pancakes make a stunning weekend breakfast, and pizza dough that’s been fermented with starter? Divine.
Honestly, who can resist warm sourdough waffles drizzled with maple syrup?
For something unexpected, try sourdough crackers with cheese. They’re surprisingly easy to make.
Final Thoughts
After spending a few weeks nurturing your sourdough starter, I must say the journey itself becomes just as rewarding as the delicious baked goods you’ll create.
There’s something deeply satisfying about watching those bubbles form, smelling that tangy aroma develop, and knowing you’ve cultivated something truly alive. For additional comfort food options, consider making a hearty soup with dried egg noodles and fresh vegetables to complement your bread-making adventures.
While your starter develops, you might want to prepare a comforting chicken soup using boneless skinless breasts and vegetables for another homemade culinary experience.